How to clean a hairbrush properly: 7 steps to remove sebum and styling residue
You wash your hair, reach for the brush—and unknowingly redistribute sebum, dust, flakes, and styling residue through the lengths? A hairbrush is used every day, but in many routines it is barely cleaned. A small beauty reset is especially worthwhile after a summer vacation, exercise, dry shampoo, and frequent styling. With the right method, it takes only a few minutes and is gentle on your brush, hair, and scalp.
Why should you clean a hairbrush regularly?
Loose hair, sebum, lint, dust, and residue from leave-in products, hairspray, or dry shampoo collect between the bristles and on the brush cushion. If the brush is not cleaned, these deposits can end up back on freshly washed hair. The brush also grips less effectively, glides less smoothly, and may start to smell unpleasant more quickly.
The short answer: Remove loose hair after every use whenever possible. Depending on how often it is used, more thorough cleaning is advisable about every one to four weeks—and more often if you have an oily scalp or use a lot of styling products.
How to clean a hairbrush: the 7-step routine
1. Check the material and manufacturer’s instructions
Before using water, determine what the brush is made of. Fully synthetic plastic brushes generally tolerate more water than wooden, natural-bristle, cushioned, or electronic models. Wood can swell, adhesive can come loose, and an air-filled brush cushion can absorb water. When in doubt, always follow the manufacturer’s care instructions.
2. Remove trapped hair while dry
First, pull out all loose hairs with your fingers. Stuck strands can be lifted with a narrow cleaning comb or the handle of a comb. Work from the edge toward the center and cut only the hair—never the brush pins or the cushion. The more consistently you do this after brushing, the faster deep cleaning will be.
3. Prepare a mild cleaning solution
For a synthetic brush, lukewarm water with a small amount of mild shampoo is usually sufficient. Very hot water, harsh all-purpose cleaners, chlorine bleach, and heavily perfumed mixtures can damage the material and surface. More foam does not automatically mean better hygiene.
4. Clean according to the brush type
Synthetic plastic brush: Briefly wet the bristles and brush surface with the cleaning solution or—if permitted by the manufacturer—immerse it for a few minutes. Do not wet the handle unnecessarily.
Wooden or natural-bristle brush: Do not soak it completely. Lightly dampen a cloth or soft toothbrush with cleaning solution and gently clean the base of the bristles and the surface.
Electric or heated brush: Unplug it, let it cool completely, and clean it only according to the manufacturer’s instructions. Never immerse it in water.
5. Gently brush out the gaps
Use a clean, soft toothbrush to reach between the rows of bristles and along the edge of the brush cushion. Small circular movements loosen residue without bending the pins. For stubborn product buildup, it is better to repeat the mild cleaning step than to scrape with sharp tools.
6. Rinse briefly and thoroughly
Rinse off soap residue with lukewarm water. For wooden and natural-bristle brushes, a clean, slightly damp cloth is sufficient. Carefully shake off excess water and check whether any foam remains at the base of the bristles.
7. Let it dry completely
Place the brush bristle-side down on a clean, dry towel. This allows water to drain instead of collecting in the cushion. Let it dry completely in a well-ventilated place—depending on its construction, this may take overnight. A hair dryer, heater, or strong direct sunlight can deform plastic, loosen adhesive, or dry out wood.
How often should a hairbrush be cleaned?
- After every use: remove visible hair.
- Every one to two weeks: with an oily scalp, frequent use of dry shampoo or hairspray, or daily styling.
- Every two to four weeks: with little product use and an unremarkable scalp.
- After an illness or diagnosed scalp infection: Clean or replace it according to medical or pharmaceutical advice.
A fixed schedule is only a starting point. Visible buildup, sticky bristles, odor, or reduced glide are clear signs that it should be cleaned sooner.
The right brush for a gentle routine
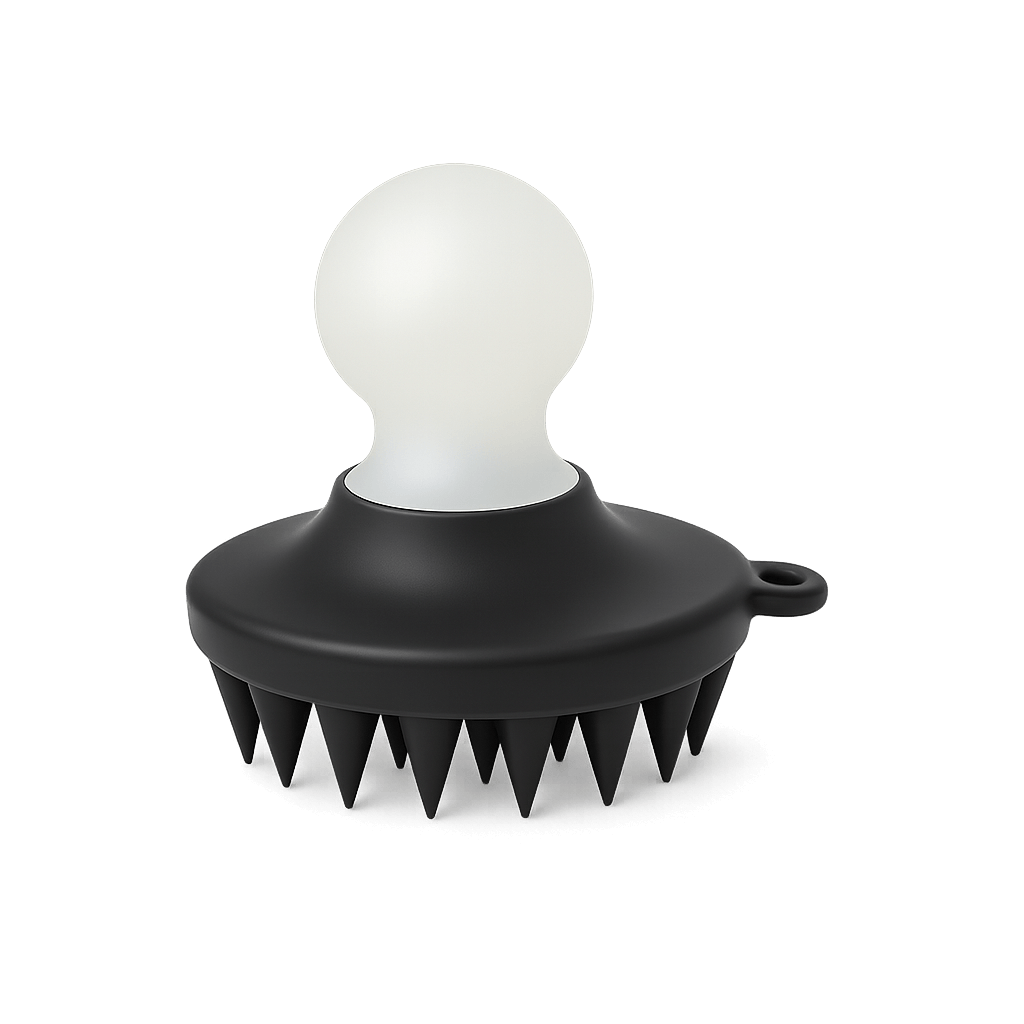
The KÖ beauté Hair Brush Detangler brush is currently available in the small version and is suitable as a compact tool for use on the go. After removing loose hair, its flexible plastic pins can be carefully cleaned with a mild cleaning solution. Nevertheless, follow the specific care instructions and let the brush dry completely before putting it back in your beauty bag or drawer.
A brush is a styling and care tool. It does not treat hair loss, dandruff, or inflammatory scalp conditions. If persistent itching, burning, weeping areas, or severe dandruff occurs, dermatological evaluation is advisable.
These cleaning mistakes shorten its lifespan
- Soaking the entire brush for hours: Water can seep into the cushion, adhesive joints, or wood.
- Using boiling water: Heat can deform plastic and bristles.
- Bleach or aggressive disinfection without cause: This can damage the material and leave residues.
- Scraping with pins or knives: Sharp tools damage the pins and increase the risk of injury.
- Putting it in the drawer while damp: Trapped moisture promotes odors and material damage.
- Sharing the brush: Hairbrushes should remain personal hygiene items.
- Ignoring wear and tear: Broken, sharp-edged, or severely bent pins can pull on the hair.
What should I do if I have an oily scalp or use a lot of dry shampoo?
Those who frequently use dry shampoo, styling powder, or hairspray will usually notice a light or gray film between the bristles more quickly. In that case, adjust not only the brush-cleaning interval but also review your product routine. Dry shampoo does not replace washing your hair with shampoo and water. Our guide to a routine for oily scalp explains how to put cleansing and styling residue into perspective.
When does the brush need to be replaced?
Cleaning cannot undo wear and tear. Replace the brush if pins break, sharp edges develop, the brush cushion shows cracks, adhesive joints come loose, or a sticky film remains despite cleaning. Persistent odors or discoloration can also be reasons to replace it. An intact, well-maintained brush glides more smoothly and pulls on the hair less unnecessarily.
Frequently asked questions about cleaning hairbrushes
Can I put my hairbrush in the dishwasher?
Only if the manufacturer expressly permits it. Heat, prolonged moisture, and dish soap can damage brush cushions, adhesive, and plastic. Manual cleaning is usually safer.
Which shampoo is suitable for cleaning?
A small amount of mild shampoo is usually sufficient. Deep-cleansing or heavily scented products are not necessary. Thorough rinsing is important.
Can I soak a wooden brush?
No. Wood can swell or crack. Clean the bristles and surface with a slightly damp cloth or a soft brush, and dry everything immediately.
Does cleaning a brush help with dandruff?
It removes residue from the tool but does not treat the cause of dandruff. If flaking, itching, or inflammation persists, professional advice is recommended.
Conclusion: A small ritual with a visible difference
A clean hairbrush is part of a well-considered hair-care routine, just like a clean towel: remove hair regularly, clean it appropriately for its material with a mild solution, and let it dry completely. This keeps the tool functional, prevents styling residue from being transferred back onto freshly washed hair, and starts the late-summer reset in a place that is often overlooked.
Note: This article is for cosmetic information only and does not replace the diagnosis or treatment of scalp conditions.