Side part 2026: 7 steps for volume without hair breakage
The deep side part is back in autumn 2026—not as a rigid retro hairstyle, but as an effortless “Parting Shift.” Simply moving the parting line can visually lift the roots, frame facial features differently, and give a familiar hairstyle a new direction. There is no need for extreme backcombing or daily high heat.
The key is a technique that suits the natural direction of hair growth. A side part may have hold, but it should not pull, burn, or keep the scalp under constant tension. These seven steps show a wearable version for everyday life and evening occasions.
Why does a side part look more voluminous?
Hair often lies flatter along its usual part because it has fallen in the same direction for a long time. When the line is carefully moved, individual roots initially stand a little more upright. This can create the illusion of greater fullness, but it changes neither the actual hair density nor hair growth.
The autumn trend works with straight, wavy, and curly hair. How deep the part should be depends on cowlicks, the hairline, density, and personal comfort. Visible scalp is not a flaw; the look should not be forced by pulling the hair tightly over.
Style a side part in 7 gentle steps
1. Cleanse the scalp and roots as needed
A heavy layer of product can make the roots look flat. Wash as often as your scalp and daily routine require, and apply shampoo mainly to the roots. The active KÖ-HAIR Sensitive Calm Shampoo can be incorporated into a gentle, calming routine. Thorough rinsing is more important than using a large amount of product.
A side part is no reason to wash the scalp more often or more aggressively. If persistent itching, severe flaking, inflammation, or pain occurs, a dermatological evaluation is advisable.
2. Check the natural direction of hair growth
First, let the hair fall loosely and observe the cowlicks and your usual parting line. Try both sides with your fingers. Usually, one direction feels more comfortable right away and can be positioned without pulling.
An extreme side part is not automatically better. Start just one or two centimeters from your usual line and deepen it gradually as needed. This keeps the roots flexible and makes the result look more natural.
3. Detangle damp hair section by section
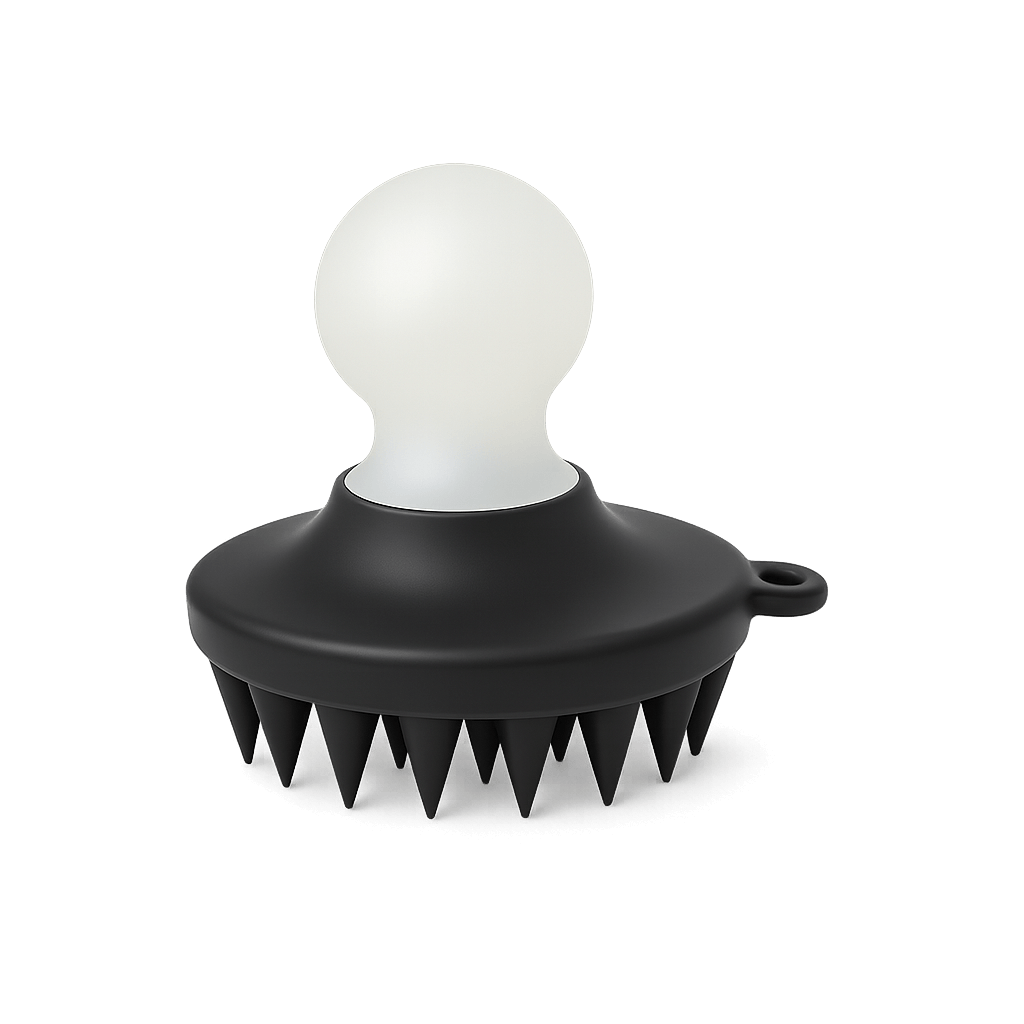
Wet hair is more vulnerable to mechanical stress. Gently squeeze out the water, pat it with a soft towel, and loosen knots at the ends first. Then slowly work your way upward. The available KÖ beauté Hair Brush Detangler Bürste is a compact tool for detangling section by section—without pulling and without pressure on the scalp.
With highly textured or curly hair, detangling with your fingers, a wide-toothed comb, or a suitable brush during the conditioning stage may be gentler. The technique should always suit your hair type.
4. Create the parting line gently
Draw the line from the hairline backward using the handle of a comb or your fingers. It does not need to be geometrically perfect: A slightly irregular line often looks more modern and is easier to blend into the natural direction of growth.
Avoid repeated scratching with sharp edges. If your scalp is sensitive, use your fingertips and make the part slightly less deep.
5. Lift the roots with air instead of pulling
For more volume, lift the roots on the fuller side with your fingers. Let the hair air-dry partially whenever possible. If you blow-dry it, choose a low to medium temperature, keep your distance, and keep the airflow moving. Excessive heat can weaken the hair.
Briefly blow-dry the roots against the direction in which they will later fall, then loosely lay them back into place. This creates movement without heavily backcombing the hair. For extra shine through the lengths, see our guide “Glass Hair 2026”.
6. Lightly set the hair without sticking the hairline down
A small amount of flexible styling product is usually enough. First distribute it between your hands or on a brush, and work only where individual hairs need hold. Strongly hardening products applied all over the roots can make the hair immobile; combing through a hard product film afterward increases the risk of breakage.
Hair clips should be smooth, appropriately sized, and not too tight. A brief pressure test helps: If the area throbs, pulls, or hurts, the accessory is too tight.
7. Vary the side of the part and styling regularly
A loose side part does not automatically cause hair loss. However, repeated strong pulling from very tight hairstyles, heavy extensions, or tight-fitting accessories can be problematic. Therefore, change the position occasionally and let your hair fall freely in between.
Warning signs include pain, burning, small pustules, broken hairs along the hairline, or increasing thinning in areas under strain. In that case, stop tight styling and seek professional advice. You can find more information in the article “Summer bun without hair breakage”.
Three wearable styles
Soft side part for everyday wear
Set the part only slightly to the side, let the lengths fall naturally, and fix only the front roots. This style works with many hair lengths and requires very little styling product.
Voluminous ’80s sweep
For a more retro look, set the part deeper and loosely sweep the front section across the forehead. Create volume by gently lifting the hair and using moderate airflow—not by aggressive teasing.
Side part for fine hair
Choose a line that is not too extreme and avoid heavy oils directly at the roots. A slightly offset part can make hair appear fuller, but it does not replace a diagnosis when thinning is new or progressing.
Common mistakes
- A part that is too deep against a strong cowlick: The style quickly falls back and gets fixed unnecessarily tightly.
- Brushing soaking-wet hair with force: Wet hair is fragile; detangle knots from the ends upward.
- Highest blow-dryer setting directly at the roots: Low to medium heat and constant movement are gentler.
- Extreme teasing: Friction can roughen the hair surface and encourage breakage.
- Pain as a “good hold”: A hairstyle should not pull, burn, or throb.
- Consistent stress on the same area: Vary the parting side, clip position, and hairstyle regularly.
FAQ about side parts
Can a side part cause hair loss?
A loosely placed part is not considered a typical cause of hair loss. However, repeated strong traction from tight hairstyles or heavy extensions can contribute to traction alopecia. Tension, duration, and warning signs matter—not the direction of the part alone.
Which side is right?
There is no universally “best side.” Try both directions in daylight and consider cowlicks, comfort, and the desired framing of the face. The side that lies flat without strong resistance is usually more practical for everyday wear.
How does a side part stay in place without a lot of hairspray?
Create the part while the hair is slightly damp, briefly blow-dry the roots in the opposite direction, and let them cool in the desired position. A small amount of flexible styling product is often enough.
Does the trend help with thinning hair?
A shifted part can distribute the roots differently and make them appear temporarily fuller. However, it does not treat any underlying cause of hair loss. If the part is widening, shedding suddenly increases, or bald patches appear, a dermatological examination is advisable.
Conclusion: visible change without harsh techniques
The 2026 side-part trend shows how much a small change in direction can do. Respecting your natural growth pattern, gently detangling damp hair, moderating heat, and ensuring a pain-free hold can create a modern style with movement and the appearance of fullness—without placing unnecessary stress on the hairline.
Trend and care guide: Who What Wear: Autumn/Winter Beauty Trends 2026 (29.08.2026); American Academy of Dermatology: Hair styling without damage; American Academy of Dermatology: Tips for healthy hair.